Prepairing for the winter months
Added 11/23/2006 - 176 Flying HoursWith the impending winter months coming I decided it was time to get things in shape for the colder season again. I headed out to the hanger and decided to tackle some things that had been nagging at me for a while now.
CO Guardian Carbon Monoxide Sensor Install
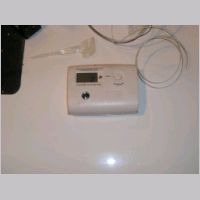
The Carbon Monoxide sensor was something that I completely ignored during the panel build, although I knew it was something I wanted. In my previous plane, I had been interested to find out if we had a CO problem, so I purchased a recommended portable unit. This unit is not approved for houses, but for RV's (the camping type) and other things. The reason is, in a household you don't want one that reads the real low level CO levels or they'd false alarm all the time. In a small camper though, where you're often burning gas for heat, you would want a quicker warning. So this unit is what we carried with us. Sure enough, with that Sundowner in a climb attitude, you would get a small rise in CO. Nothing too drastic usually, and it was probably coming in through the very leaky door seals that you could see light through.
|
For a plane as nice as the RV-10 though, there wasn't any way I was going to go long-term throwing in some old portable unit, that was already 5 years old. I also didn't want to have to have one that I could potentially forget to bring along, or choose not to bring along due to space concerns, so I started looking into permanent mount units.
I had heard the name "CO Guardian" before, but had never really read any literature on them. You probably have seen photos or panel layouts of them....about the same shape as a hobbs for the panel mount units, only slightly bigger. Upon further investigation I found that they not only make a variety of units from a form-factor perspective, but they make a variety of functionalities and they make them as FAA Approved, or homebuilt-only devices. That's totally sweet when a company specifically makes a non-approved model for us homebuilders and sells it to us at a lower price. It makes homebuilding such a more high-value way to go.
What took me by surprise though, was how much functionality you can actually find, for not much increased cost, with their units. In my case, I chose the 353RP Remote Mount unit. Interestingly, this unit is very small and light (well under 1lb.) and can be remotely mounted behind the panel very easily. It also includes some special functionalities: It has a serial interface that can actually send the CO level, cabin pressure (altitude), and cabin temperature measurements to my GNS-480. I have heard that it will also send this data to the MVP-50 Engine monitor, which gives one more reason to look at that device.
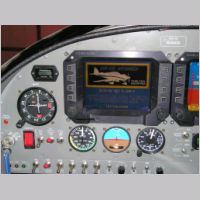
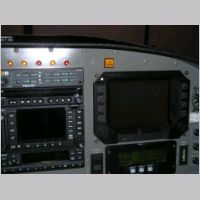
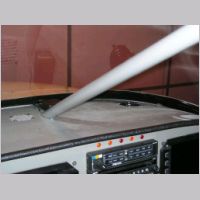
Using the remote mount unit, you can get by with just one simple bit of panel space taken up...something that really is important with my panel. All you need is either a pushbutton TEST/RESET switch and a separate light, or you can do like I did and install a combination unit that functions as both a TEST/RESET switch and Light, all in one. The Light, in this case, is an LED also, so it should not burn out easily and should last a lifetime. You can see from this photo that I mounted it in line with my other indicators, but above the co-pilots EFIS display. For me, the entire panel is very accessible and viewable, so I decided not to clutter my side of the panel any further with this button.
|
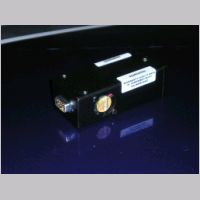
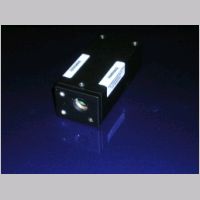
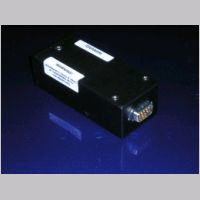
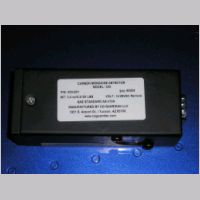
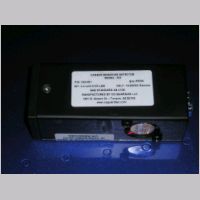
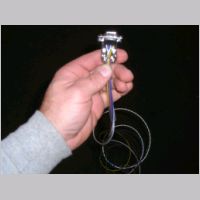
Looking at the unit itself, it's a pretty small and simple looking unit. It has a fan on one side to pull the air through the sensor, and a port on the other end. Then on one end is a DB9 connector for all of your power/gnd/serial/light/switch connections. Wiring it is pretty simple too. I started by just making my own harness in a few minutes, shown below. Exact dimensions are available on their website.
Another bit of interesting functionality is that this unit can monitor your cabin pressure, and give a brief light alert when you reach 10,000' to indicate that you should start using Oxygen. After you reach 12,500' cabin pressure it will alert you that you require oxygen by turning the light on and leaving it on. So it can act as an active way to alert you to the requirement of supplied oxygen.
So now I can fly much more comfortably this winter season with my heater on, knowing if I have any Carbon Monoxide issues to deal with. It's one of those things every plane should have, and in fact just a few days before I received mine, I ran into a fellow builder who was troubleshooting a CO problem in their cockpit. That's surely a problem you don't need to experience first hand without a way to tell the level.
Larger Defroster Fans
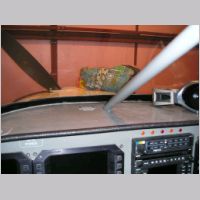
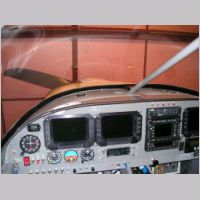
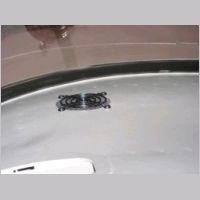
I had originally thought I could get by with a single center mounted defroster fan. Turns out I was wrong, and I found out the first couple times I flew in the summer, believe it or not, on cold, rainy days. Time to rectify that before the frosty winter season sets in full force. My original fan was a very small CPU fan from a PC application. I had drilled a mesh of holes in the top of the glareshield, which isn't as free-flowing as a big hole would be. You could feel the air flow out, but not very much flowed. I still believe, but will have to test, that with the front seat heat coming out directly below the panel that you don't need additional ducting to get this hot air directed to the windshield. You do, however, need to make sure you have ample air. So this time I bought 2 60mm fans, that are among the higher flowing 60mm fans available. If I were starting from scratch, I'd either get 60 or 80mm fans, depending on what you have for space available.I was able to remove the screens easy enough and shield everything from chips with taped up plastic behind the panel, and then use a 2.25" hole saw to make my 2 holes and add a fan to each side of the panel. This allowed for much more airflow than a drilled mesh. I then found some black fan grills online and bought 6 of them, in case I wanted to put them on the top and bottom, and in case I wanted to replace my center fan some day too. In additon, on the top side, I added a small patch of black aluminum screen, to keep errant screws and items from falling through the fan and into the area behind the panel.
When all was said and done, I have just a tad more current draw (.16A each fan), but I now have many times more airflow, probably 15-20X than I used to have. I'll have to see how this works now, and if it isn't good enough I may end up ducting hot air to the fans, but my guess is I'll be fine now.
|
|
|
|
Headset Hangers
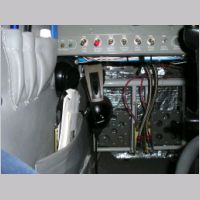
A quick and simple, but long overdue job... I've already heard of people scratching their windshields with their headsets, so I decided to get to work and copy what another builder did for their front seat headsets. I crushed a piece of aluminum fuel tubing and made a headset hanger for each side of the cockpit. Now I can hide my headsets out of the sun, and off the seats and floors for easy entry and exit.
|
|
